Heritage Wheat Focaccia Bread Recipe
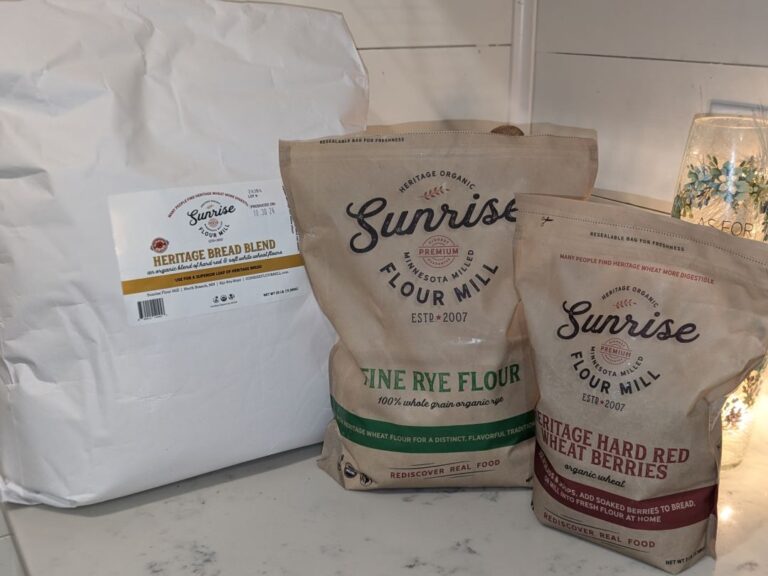
Looking for a great recipe to impress your family with during the holidays? Look no more, you just found it. You can have fun letting your imagination run with your veggie decorations. You don’t have to have them if you don’t have the time. Either way, you will have a wonderfully tasty and airy focaccia bread to share with your loved ones. I used Sunrise’s Heritage Bread Flour in the recipe, but feel free to use freshly ground Einkorn or Hard Red Wheat too. Mix the recipe up ahead of time and throw it into the refrigerator for at least 12 hours for up to 3 days. You can make either two small loaves in 9″ pie pans, or a thicker one in a 9×13 casserole dish or a nice thin loaf in a 13×18 rimmed sheet pan that’s great for making sandwiches.
I prefer using a scale to measure my flour then a measuring cup. I get a more accurate amount of flour for my recipe. Look at the photos below. They are both one cup of flour that I scooped into the cup and leveled off with a knife. There is a 12 gram difference between the two. That will make a difference in your bread in the end, as you would need to account for the difference with the amount of liquid you are adding.
For me, it is just easier to set my bowl on top of my scale and reset it to zero and then add my flour. Weigh out 500 grams of flour, reset to zero and then add 10 grams of sea salt and 8 grams of instant yeast. Pour in your water and honey mixture to form your sticky dough.
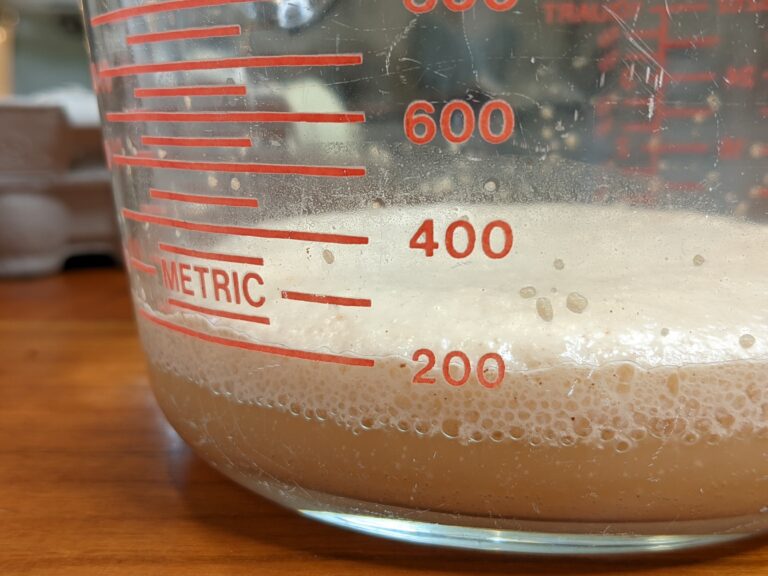
Add 1T oil to cover the dough on top and tightly seal your bowl. Refrigerate it at least 12 hours up to 3 days. The third picture shows how much it will rise in the refrigerator.
Add another tablespoon of oil to the middle of your dough. Take your bread scraper and begin to pull it away from the side to deflate your dough and coat it with the oil. Quarter turn your bowl and pull it again. you will end up forming a nice ball.
Place a 12×16 inch parchment paper cross wise in your casserole dish and really coat it in butter – making sure to add extra butter where the glass is still showing on your dish. I love keeping butter in my butter bell on the counter. I don’t have to pull out cold butter and bring it to room temperature in advance. This way, I already have it, and it’s ready to go.
Add your dough into casserole dish and slight pull and stretch it to fill out your dish. Lightly cover it with the parchment and place in a cold oven with just the light on for 3 hours to rise.
Pull out the dish and carefully open up the parchment. Scarp off any dough that sticks. This is the fun part. Pour 1T of oil on top of the dough and add some to your hands. Then, using your fingers dimple the dough.
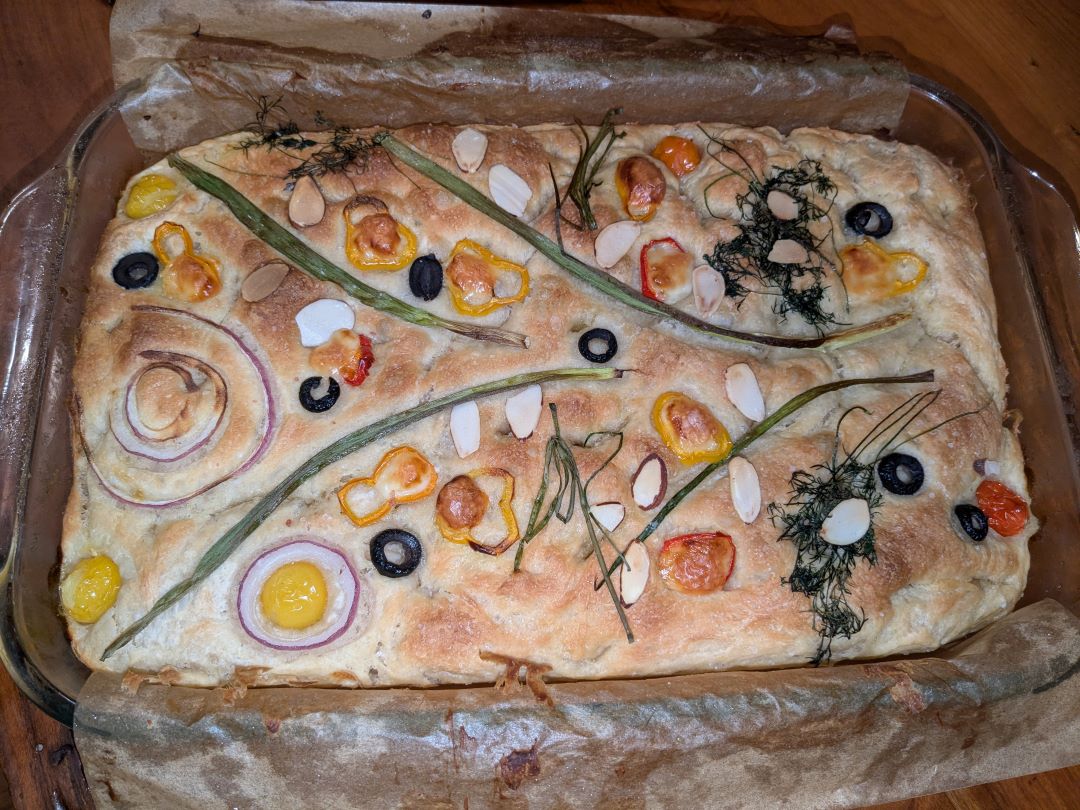
More fun! Cut up your various veggies. Use a paper towel to create your design, adding the veggies on top of it. I like to thinly slice peppers and onions to create flowers and add mozzarella balls in the center of them. Slice black olives and almond slices make cool leaves. Green onions and rosemary make cool stems. Just let your imagination go wild. You cannot mess it up. Everything looks beautiful after baked. Once you have transferred your design, sprinkle everything with your flaky sea or kosher salt.
Don’t throw away those leftover fresh herbs. I laid mine out onto a paper towel and let them dry out. It took a week or so. Then I grinded them between my fingers and placed them into jars to use in the future recipes.
Let your bread bake for 25 to 30 minutes at 425 degrees F. Since we used a glass casserole dish, it will be easy to see if the corners are nice and golden brown. The top will have a nice crunchy texture when you tape on it. This is where using the parchment sheet comes in handy. You can carefully lift it out of the dish after it has cooled down for about ten minutes. Slice and slather with butter! Be prepared to dazzle your loved ones at your next family function!
Whole Wheat Focaccia Bread Recipe
30
minutes17
hours3
hours12
hoursLooking for a great recipe to impress your family with during the holidays. Look no more, you just found it. You can have fun letting your imagination run with your veggie decorations. You don't have to have them if you don't have the time. Either way, you will have a wonderfully tasty and airy focaccia bread to share with your loved ones. I used Sunrise's Heritage Bread Flour in the recipe, but feel free to use freshly ground Einkorn or Hard Red Wheat too. Mix the recipe up ahead of time and throw it into the refrigerator for at least 12 hours for up to 3 days. You can make either two small loaves in 9" pie pans, or a thicker one in a 9x13 casserole pan or a nice thin loaf in a 13x18 rimmed sheet pan that's great for making sandwiches.
Ingredients
4 cups (500 grams) Heritage Bread Flour
2 t (10g) sea salt
2 t (8g) instant yeast
2 cups (455g) lukewarm water, can make by combining 1/2 cup boiling water with 1-1/2 cups cold water
1 T (21g) local honey
butter for greasing
4 T olive oil, divided
flaky sea salt or kosher salt
various veggies for decorations, fresh rosemary, grape tomatoes, fresh dill, red onion, peppers, mozzarella cheese balls, green onions, fresh thyme, black olive slices, sliced almonds etc.
Directions
- In a large bowl, whisk together the flour, salt, and instant yeast. Mix the water with the honey and add to the dry ingredients (make sure it is warm and not hot). Using your rubber spatula, mix until your form a sticky dough ball. Rub the surface of the dough generously with 2T of the olive oil. Seal bowl with lid and place in refrigerator for at least 12 hours up to 3 days.
- I made my bread with a 9x13 inch casserole dish. I used a 12x16 inch of parchment paper and laid it cross wise in my casserole dish. Heavily grease the glass on the casserole dish and brush butter onto the parchment paper too. (You can use a nonstick cooking spray, but I prefer the taste of the butter on the outside of my bread.
- Pull your dough out of the refrigerator and grab your rubber spatula. Pour 1T of oil on the top of your dough and start pulling in the sides into the middle to incorporate the il into your dough. Pull for the sides about 4 times, quarter turning the bowl slightly each time you pull to grab ahold of a new section of the dough to deflate it. Make sure the whole dough ball is nicely covered with the oil.
- Put the dough ball into the casserole dish and lightly pull and stretch it to fill the whole dish. Lightly fold over the parchment paper onto the dough and place in your oven with just the light on for 3 hours to let it rise. (Or, in a warm section of the kitchen.)
- Carefully pull the parchment off the dough and scrap off any dough that sticks. Drizzle 1T of olive oil over the top. Add a little more into your hands and then have fun dimpling the dough with your fingers. I love this part!
- Set a rack in the middle of your oven and preheat to 425 degrees F.
- Now for the creative part, cut up your veggies to make a pretty design on top of your bread. I like to slice my onions and peppers thinly to create beautiful flowers. I add a mozzarella cheese ball in the center of the flowers. I pull out some paper towels and set my veggies on top to create my design before adding them to my bread. After you add your design, sprinkle the whole thing with your flaky sea or kosher salt. (Don't throw away the unused fresh herbs. Place them on a paper towel and leave them till they have dried out. Crush with your fingertips and store in small jars.)
- Bake for 25 to 30 minutes until the sides are golden brown and crispy. Place on a cooling rack for 10 minutes before removing the bread from the dish. Pull the side pieces of parchment paper to remove the bread and place into a cutting board. I have a hard time waiting till the bread completely cools to cut and slather with butter!
- To store your bread, wait till it has completely cooled and transfer it to an airtight bag or vessel for up to three days at room temperature. Freezes nicely for up to three months. Anytime you want a crusty crunch on your bread, just reheat it in the oven at 350 degrees F for 15 minutes. This bread is dressed to always impress!